Quick and Easy Drywall Hole Repair: A Step-by-Step Guide
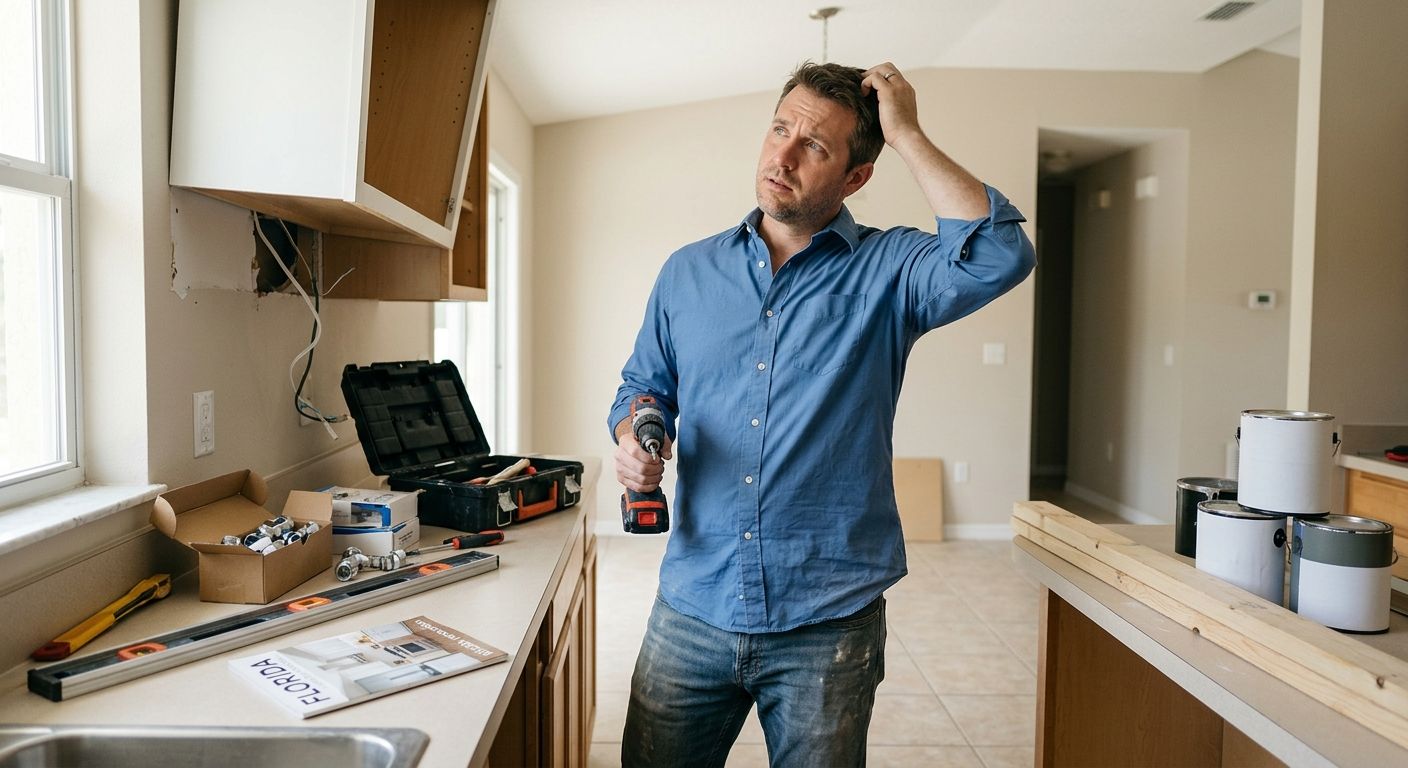
Let’s be honest. We’ve all had that “oops” moment — moving furniture, tossing a door open too hard, or accidentally hitting the wall with something heavier than our pride. The result? A glaring hole in your drywall that seems to scream, “Fix me!”
Drywall holes aren’t just unsightly; they can also affect the look and feel of your home. The good news? With the right steps, tools, and a bit of patience, drywall hole repair can be a quick and satisfying project. Whether it’s a small dent or a fist-sized crater, learning how to fix it yourself can save time, money, and maybe even a little embarrassment.
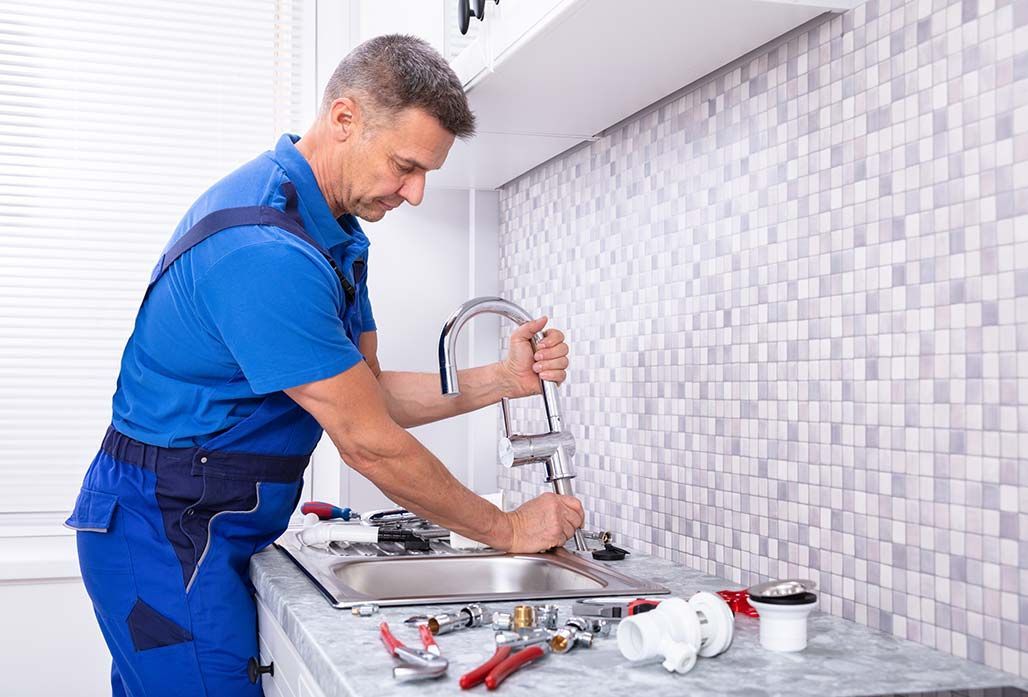
In this guide, we’ll walk you through everything you need to know about drywall repair — from the tools you’ll need to the techniques that actually work. And if you decide you’d rather have a pro handle it (no judgment here), our team at Have Hammer Will Travel in Dunnellon, FL has you covered.
Step 1: Identify the Type of Drywall Damage
Before diving in with a putty knife and spackle, you need to identify what kind of damage you’re dealing with. Not all drywall holes are created equal, and different issues call for different repair methods.
Here are the most common types of drywall damage:
- Small Nail or Screw Holes: These are the little guys — caused by picture hooks, nails, or screws. They’re easy to fix and often just need a dab of spackle and some sanding.
- Medium Holes (1–3 inches): Usually caused by accidents or doorknobs hitting the wall. These need a patch or mesh to reinforce the repair area.
- Large Holes (Over 3 inches): These call for a more involved repair — often requiring a new piece of drywall to be cut and installed.
- Cracks or Dents: These can happen due to foundation shifts, moisture, or regular wear and tear. Cracks might seem harmless, but ignoring them can lead to bigger issues down the road.
Knowing what kind of hole you’re working with helps you plan the right approach — and saves you from redoing the same spot twice.
Step 2: Gather Your Drywall Repair Tools and Materials
Having the right tools on hand makes the job go much smoother. The good news is, you don’t need a full workshop for drywall hole repair.
Here’s what you’ll need:
- Spackle or Joint Compound: The magic ingredient that fills the hole.
- Putty Knife: For spreading compound evenly.
- Sandpaper (medium and fine grit): To smooth the surface once the patch dries.
- Drywall Patch or Mesh Tape: For larger holes that need reinforcement.
- Utility Knife: To clean up rough edges.
- Primer and Paint: To finish the job and blend the patch with the rest of the wall.
Pro Tip: Always keep a small drywall repair kit handy. You’ll thank yourself the next time someone decides to move furniture without looking behind them.
Step 3: Fixing Small Holes Like a Pro
Small holes are the easiest to fix and the best way to start building your drywall confidence.
Here’s how to handle them:
- Clean the Area: Wipe away dust or debris from the hole.
- Apply Spackle: Use your putty knife to fill the hole with spackle or joint compound.
- Smooth It Out: Scrape off the excess to make it even with the wall.
- Let It Dry: Depending on the product, drying can take anywhere from 30 minutes to a few hours.
- Sand and Paint: Lightly sand the area smooth, then apply primer and paint.
You’ll be amazed how a small fix can make your wall look brand new again. No one will even know where the damage was — except maybe you (and your conscience).
Step 4: Repairing Medium to Large Holes
Now we’re getting into territory where things look a little more serious — like when your kid’s baseball goes rogue in the living room. For medium and large holes, you’ll need a bit more elbow grease.
Here’s what to do:
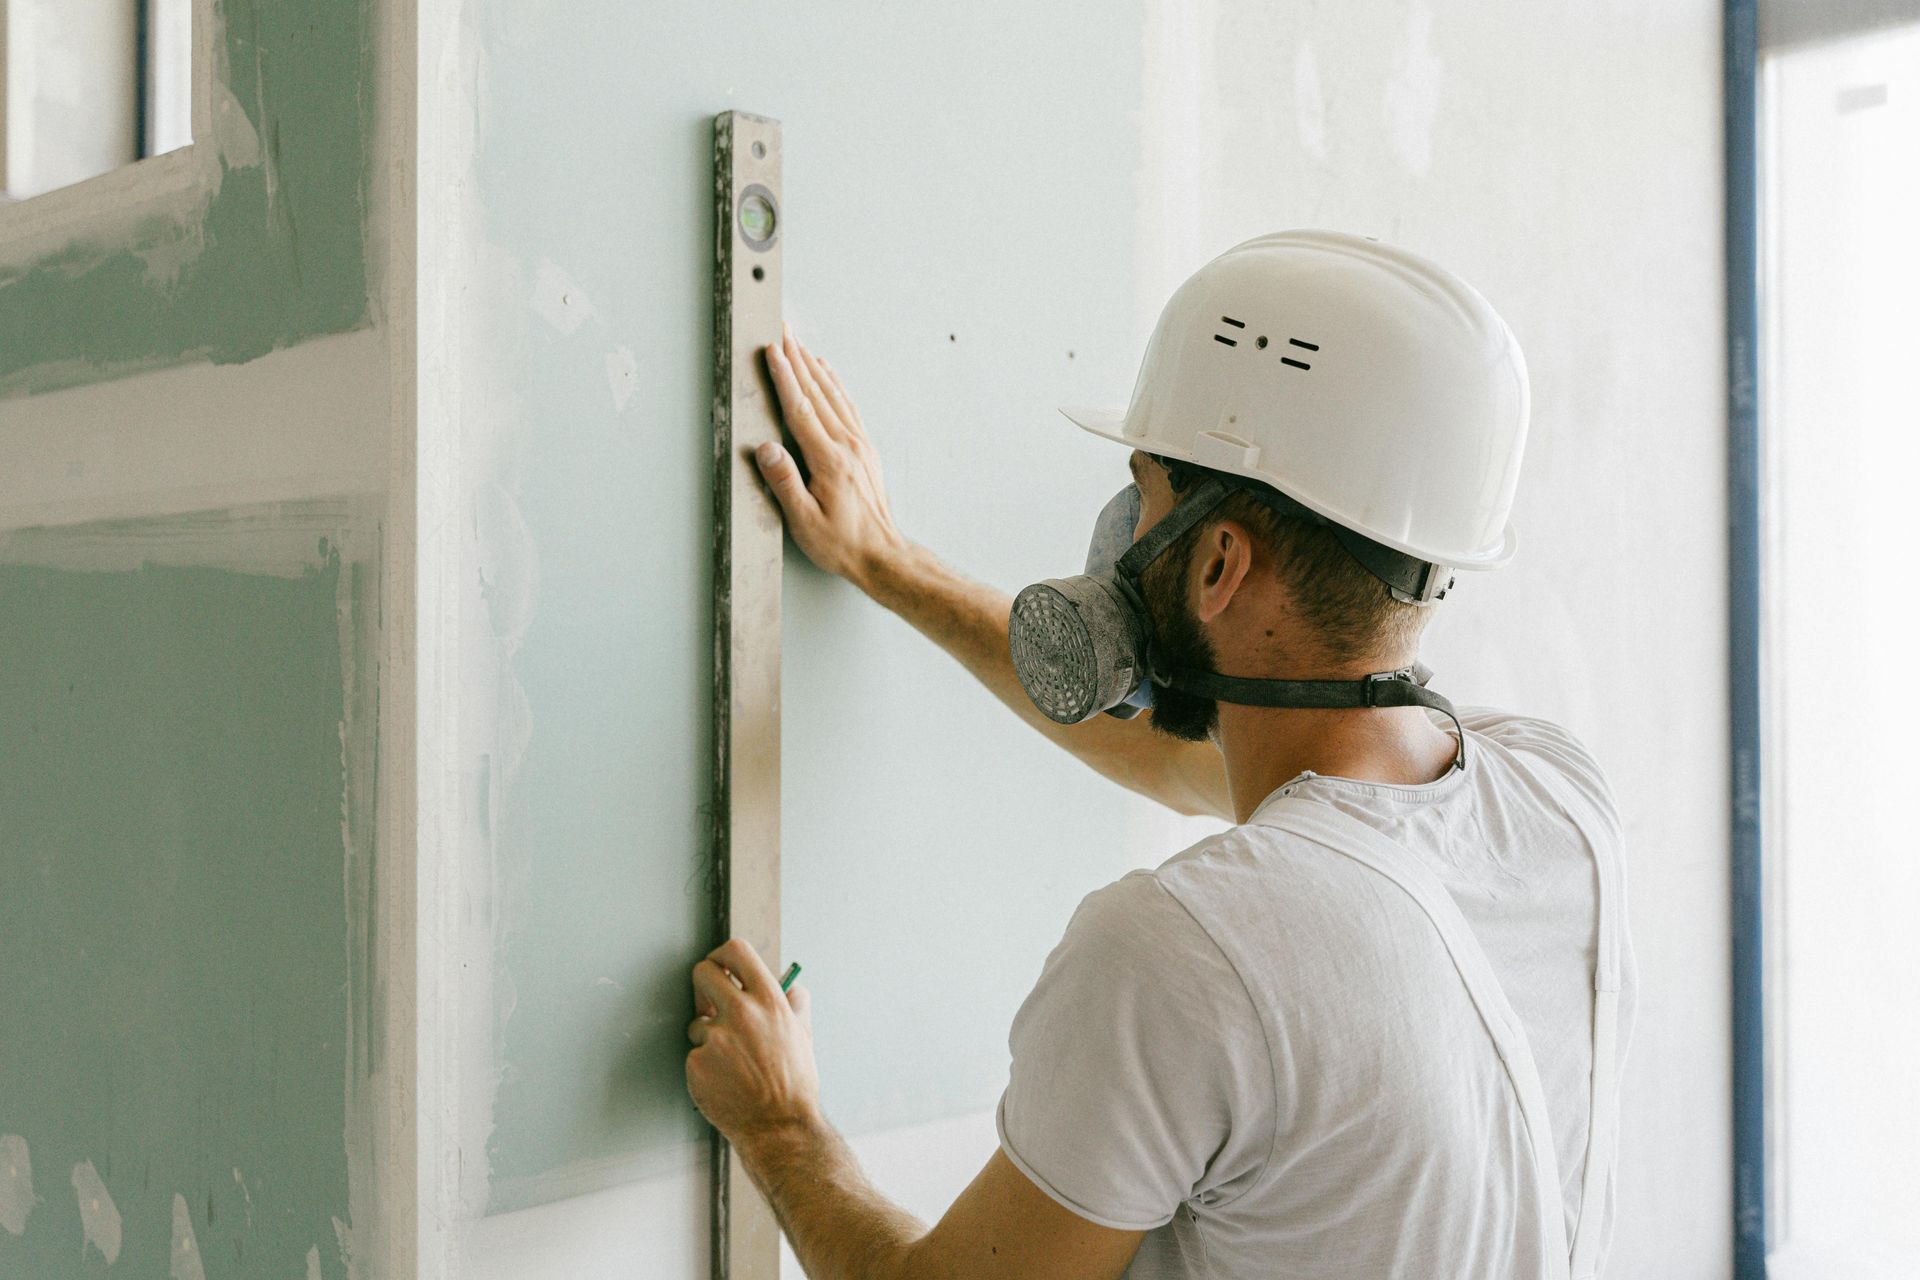
- Cut the Damaged Area: Use a utility knife or drywall saw to cut a neat square around the hole.
- Attach a Patch or Drywall Piece: For medium holes, a mesh patch works great. For larger holes, cut a piece of drywall slightly smaller than your opening.
- Secure the Patch: Use drywall tape or a backing board to hold it in place.
- Apply Joint Compound: Spread over the patch with your putty knife, feathering out the edges for a smooth blend.
- Sand and Repeat: Once dry, sand it smooth and apply another coat if needed.
- Prime and Paint: Blend it with the rest of your wall for a seamless finish.
Pro Tip: Feathering your joint compound is key. The smoother the edges, the less obvious the patch will be after painting.
Step 5: Painting and Finishing Touches
You’ve done the hard part — now it’s time to make your repair look flawless.
- Prime Before You Paint: This helps your paint adhere properly and prevents the patch from looking like a lighter spot.
- Match Your Paint Color: If you don’t have the original color, take a small paint chip to your local store for a match.
- Use a Roller for Texture: Rolling paint instead of brushing helps blend the texture of the new patch with the existing wall.
Once your paint dries, step back and admire your handiwork. You’ve just saved yourself a repair bill — and your wall looks as good as new.
When to Call a Professional for Drywall Repair
DIY repairs are great, but sometimes the damage is too extensive or the wall needs more than just a patch-up job.
You should call a professional drywall repair service when:
- The hole is larger than a foot in diameter.
- The drywall is damaged by water or mold.
- The wall has electrical or plumbing components behind it.
- You’ve tried fixing it before, and the problem keeps coming back.
At Have Hammer Will Travel, we specialize in all types of drywall repair and home improvement work across Dunnellon, FL and surrounding areas. Our experts ensure every patch, joint, and finish looks perfect — and we’ll make your wall look like nothing ever happened.
Call Have Hammer Will Travel for Expert Drywall Repair in Dunnellon, FL
If you’d rather skip the mess and have your wall looking perfect again, we’re just a phone call away. At Have Hammer Will Travel, we offer professional drywall repair, painting, and home repair services for homeowners in Dunnellon, FL, and the surrounding areas. Our experienced team handles everything from small patch jobs to full wall repairs, ensuring every detail looks flawless.
Don’t let a small hole turn into a big headache. Give our friendly crew a call today at (334) 303-6963 and let us handle the hard work. Whether it’s drywall, painting, or general handyman repairs, we’ll make your home look brand new again — quickly and professionally.
Frequently Asked Questions (FAQs)
How long does drywall repair take?
Most small drywall hole repairs can be done in a few hours, but larger holes or full wall sections might take a day or two, especially if multiple coats of compound are needed.
Can I paint over drywall patches without primer?
It’s not recommended. Primer helps the paint stick evenly and prevents dull or shiny spots where the repair was made.
What causes drywall cracks to keep coming back?
Recurring cracks usually mean there’s movement in your home’s framing or foundation. A professional should inspect the cause before redoing the repair.
Is it cheaper to repair or replace drywall?
Small holes are definitely worth repairing. But if your wall has extensive water damage, replacing sections of drywall may be more cost-effective in the long run.
Can a handyman fix drywall holes?
Absolutely! Professional handymen like our team at Have Hammer Will Travel specialize in drywall hole repair and can make your wall look good as new without breaking your budget.